Diagrama semanal
Course Overview
In this module, participants are introduced to the course development team and the course-level objectives. The course overview also contains the course syllabus and technical requirements, including tips to help you configure your computer for an optimal course experience.
Scalpels

In this module we will discuss how to safely arm, disarm, and pass a scalpel, as well as how to grip a scalpel and the methods of cutting with a scalpel blade. We will also examine the types of scalpel blades and handles that are commonly used in veterinary practice and their surgical applications.
Thumb Forceps
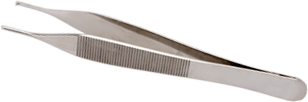 In this module we will examine the types of forceps available, how to properly hold and use forceps, and the surgical applications for forceps.
 Scissors
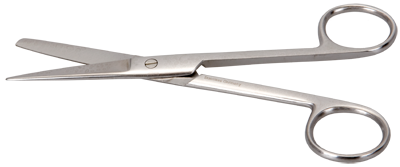 In this module we will examine the common types of scissors used in veterinary surgery; how to properly grip, use, and pass scissors; the four cutting and dissection techniques for scissors; and the surgical applications for scissors.
Surgical Clamps
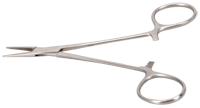 In this module we will examine the wide variety of surgical clamps available, as well as explore the many ways that these versatile instruments are used to support veterinary surgery.
Needle Holders
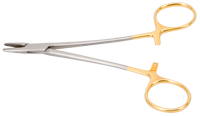 In this module, we will examine the types of needle holders available, how to grip a needle holder, and how to properly use needle holders to stitch in an effective and time-efficient manner.
Supervised Laboratory
This optional module contains descriptions of hands-on laboratory exercises designed to provide students with the opportunity to practice basic instrument handling techniques under the supervision of an instructor.
Course Evaluation
Please take a moment to leave your feedback about your experience with this course.
